How to Host an OpenVPN or WireGuard VPN Server using Brume 2
Hosting a personal VPN server is useful when you want to remotely access your local network resources, or bypass geo-restrictions while traveling abroad. The most common methods to host a VPN server are using a router or a computer. All of GL.iNet’s routers are capable of hosting VPN servers. In this example, we will be using Brume 2 because it is a low cost option that can run a reliable and high speed VPN server.
Check if you have a public IP address
To set up a VPN server, you will need a public IP address. If you don’t know if your Internet Service Provider have assigned you a public IP address, you can either contact them to ask directly or use the following steps to check:
Google “What’s my IP” to check your current IP address. Access your main router’s admin panel, and check if your current IP address matches the IP address of your admin panel.
If both IP addresses match, then congratulations! You have your own public IP address. If they do not match, you can purchase a public IP address from your Internet Service Provider.
Click here to learn more about checking if you have an IP address.
Step 1: Start the VPN Server
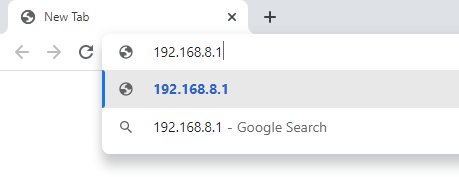
To start the VPN server, enter Brume 2’s web admin panel by going to your browser and entering 192.168.8.1.
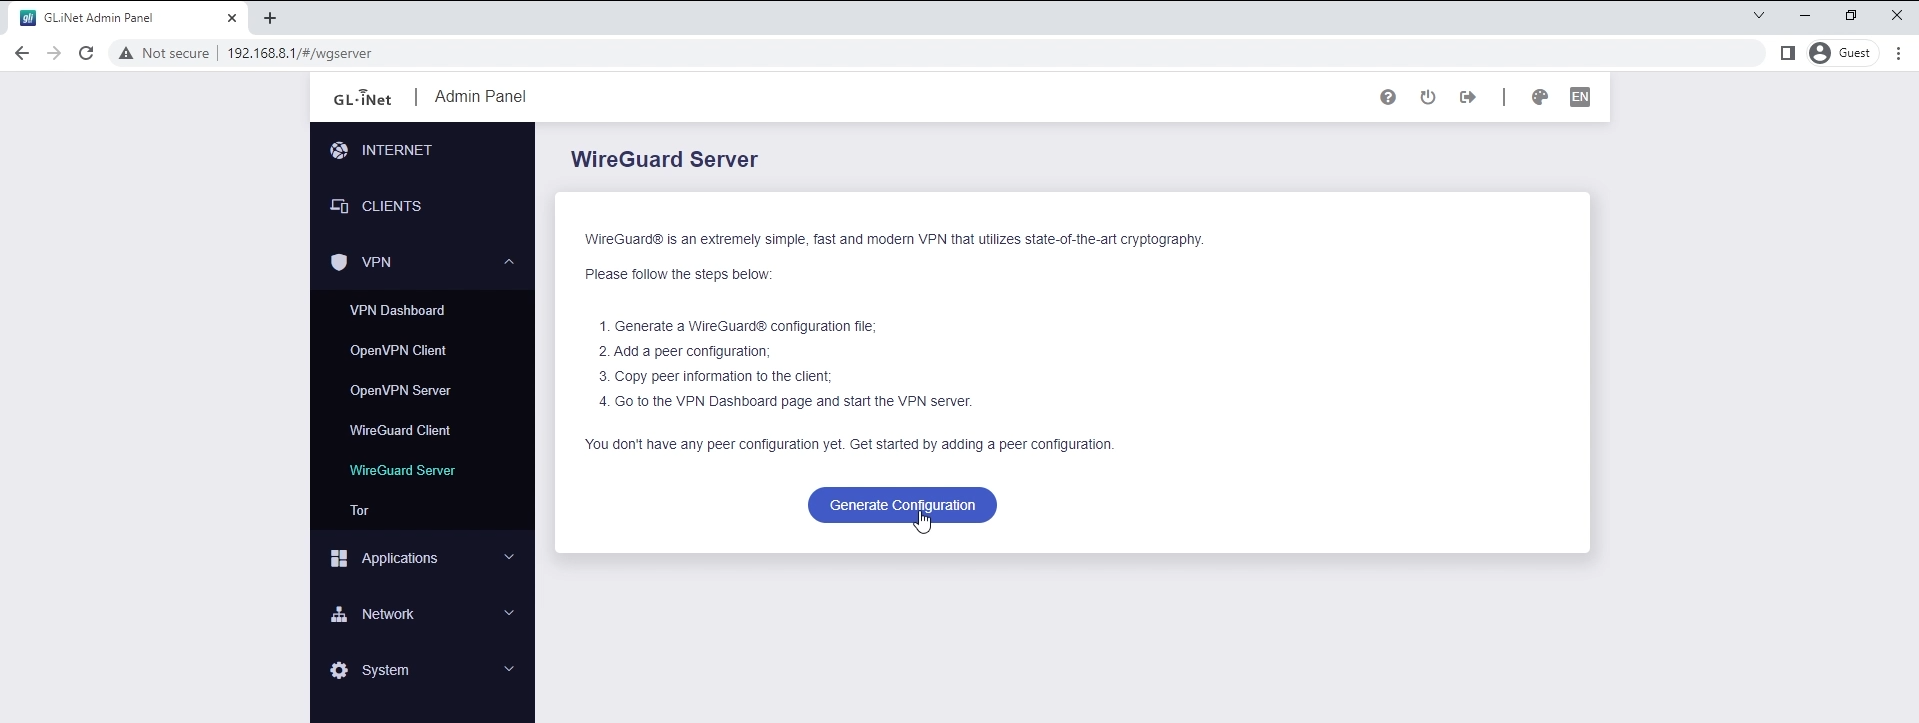
Click on the VPN tab, you can choose between OpenVPN and WireGuard. In this case, we will be using the WireGuard protocol to host our server as it is much faster than OpenVPN.
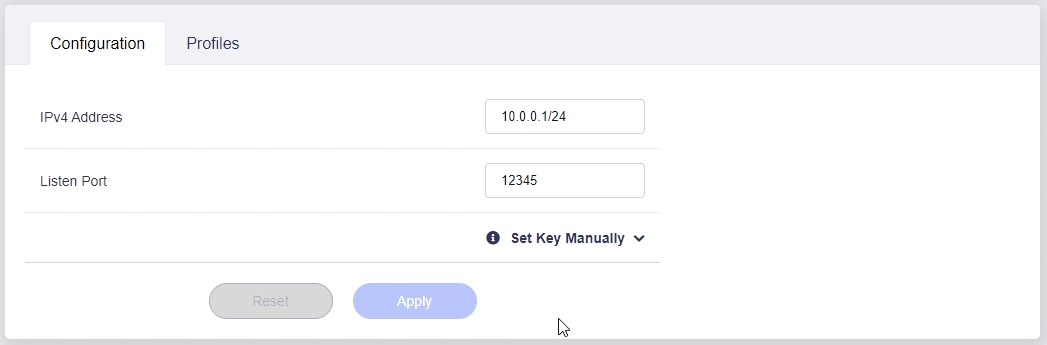
On this page, we can use a random “Listen Port”, the maximum value is 65535. Click on “Apply” to start the server.
Step 2: Port Forwarding
Port Forwarding is only necessary if your data from the VPN server passes through additional devices before accessing the public internet.
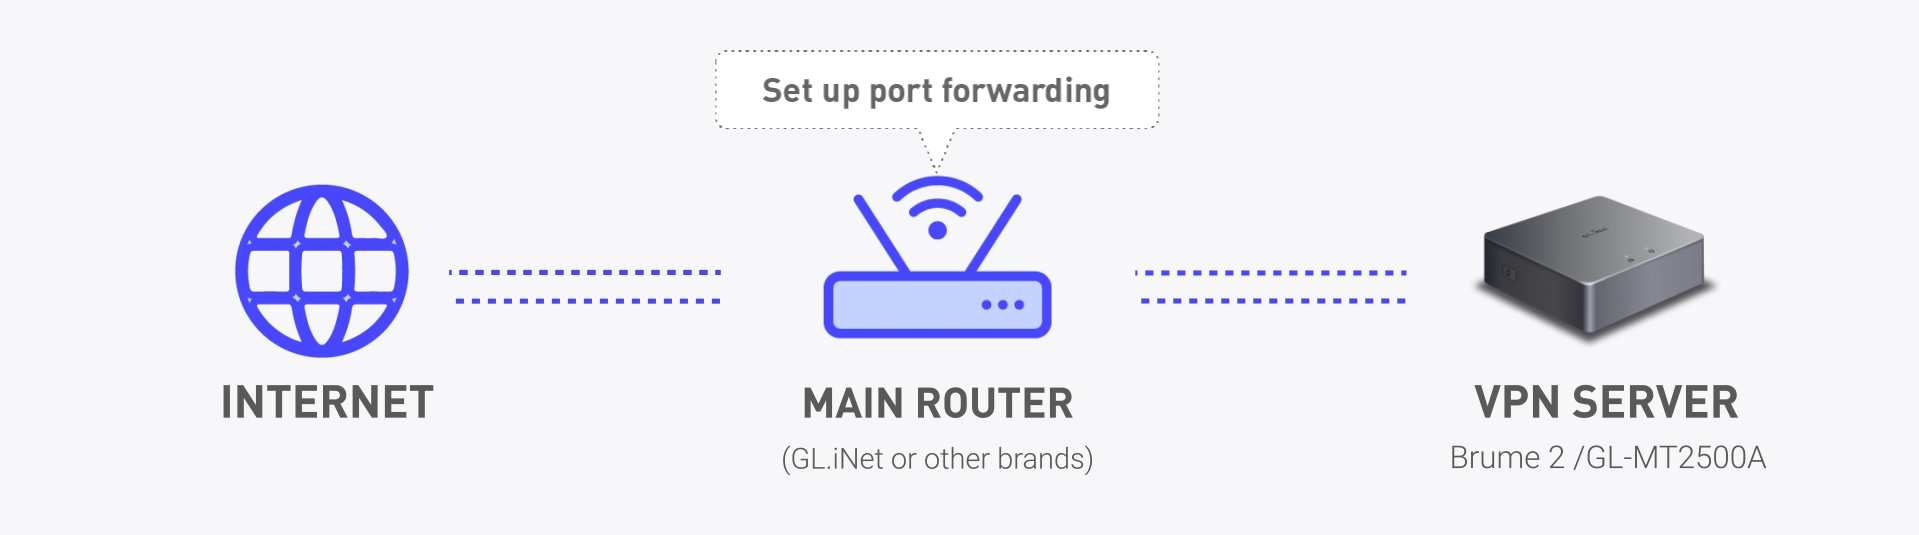
In such a case, we need to Port Forward data from devices in the upstream layer, in our case Slate AX, towards our VPN server.
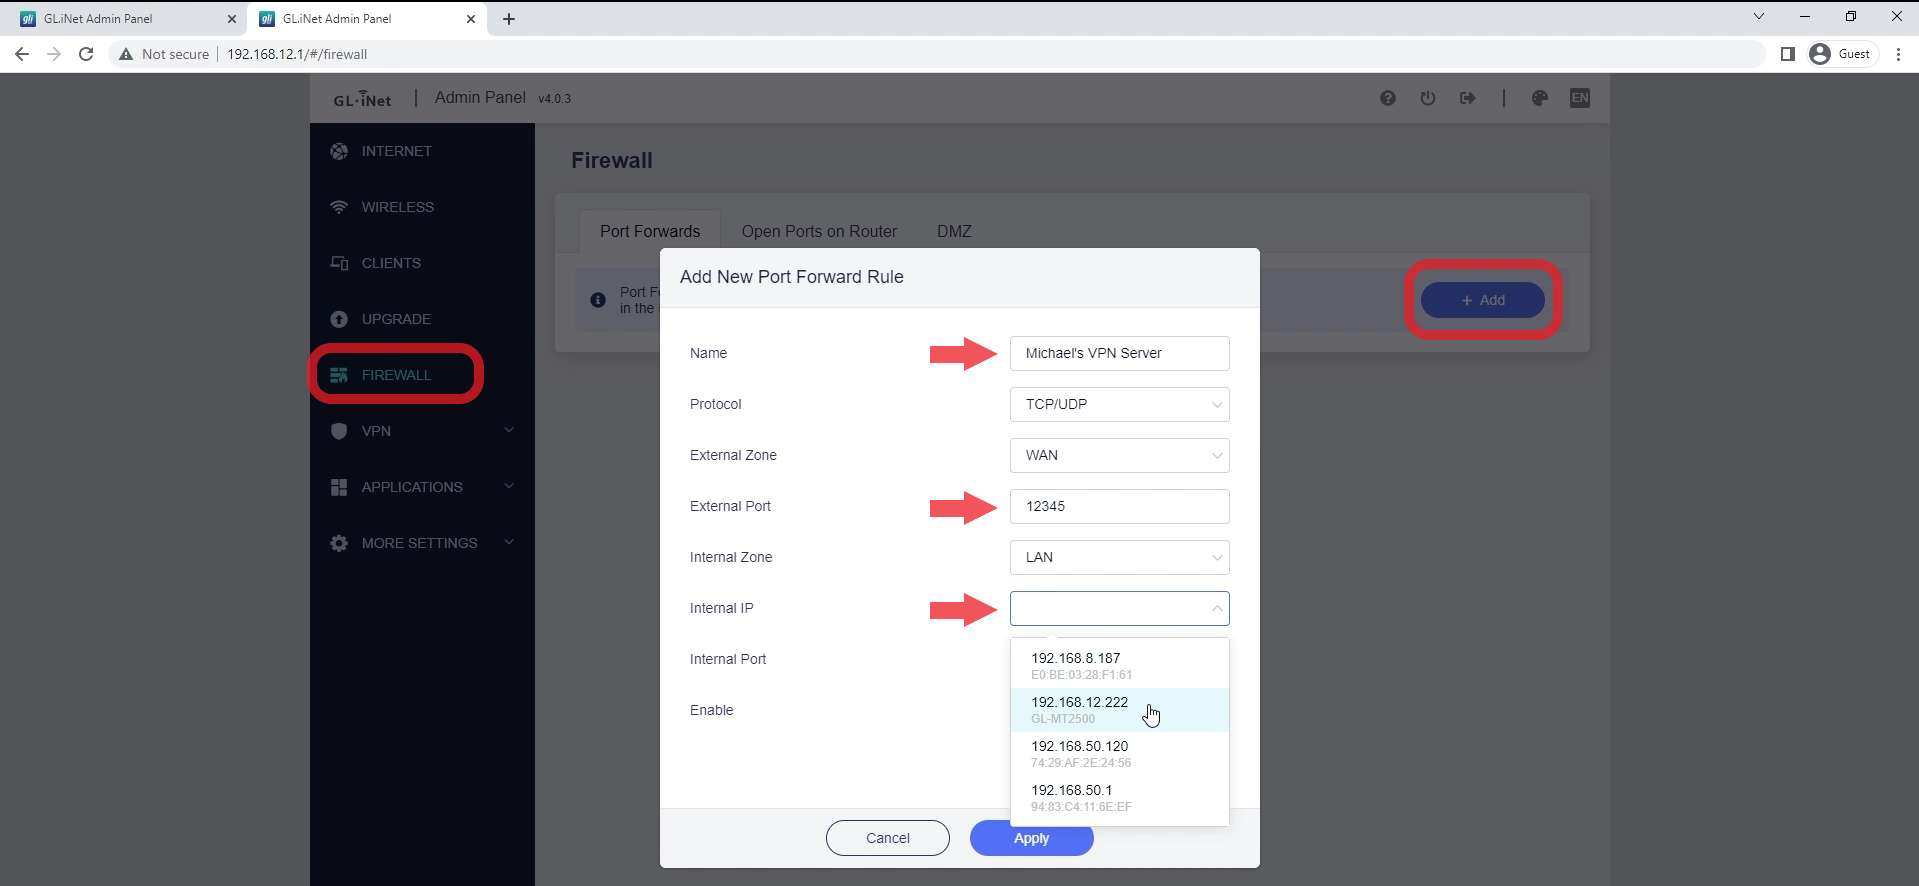
To do this, enter the Admin Panel of Slate AX. Go to “Firewall”, and under “Port Forwarding”, click on “Add”. Make sure you enter the same “External Port” as your VPN Server.
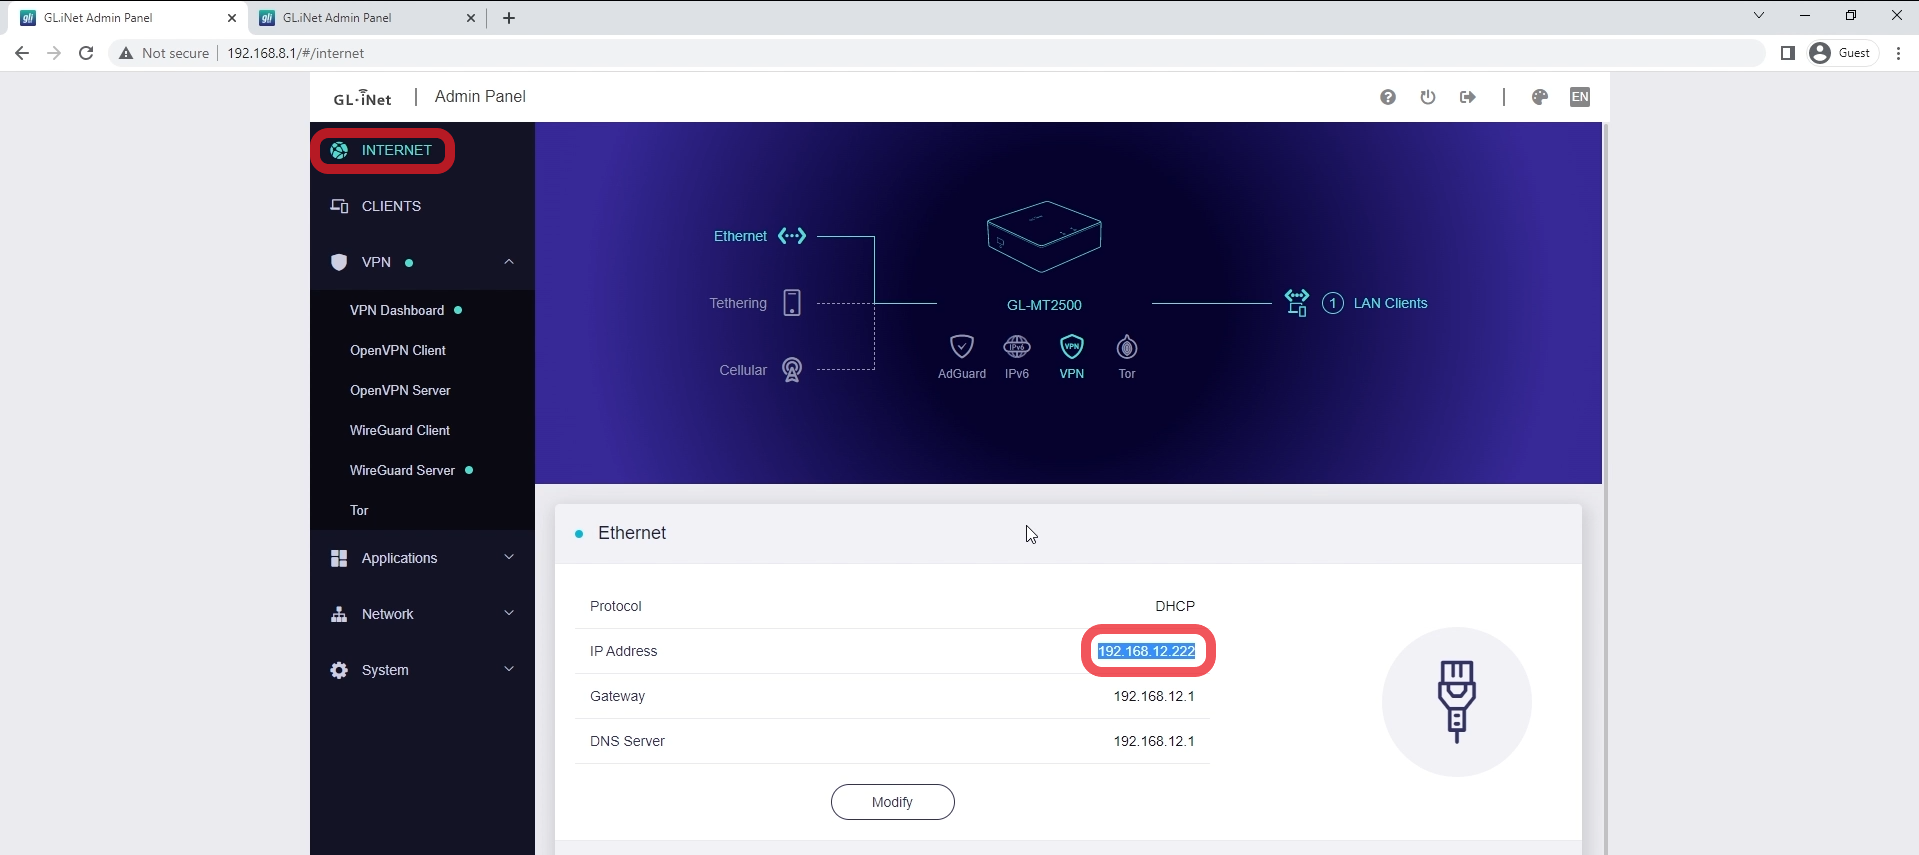
For the Internal IP address, you can check by going to Brume 2’s Admin Panel, and click on “Internet”.
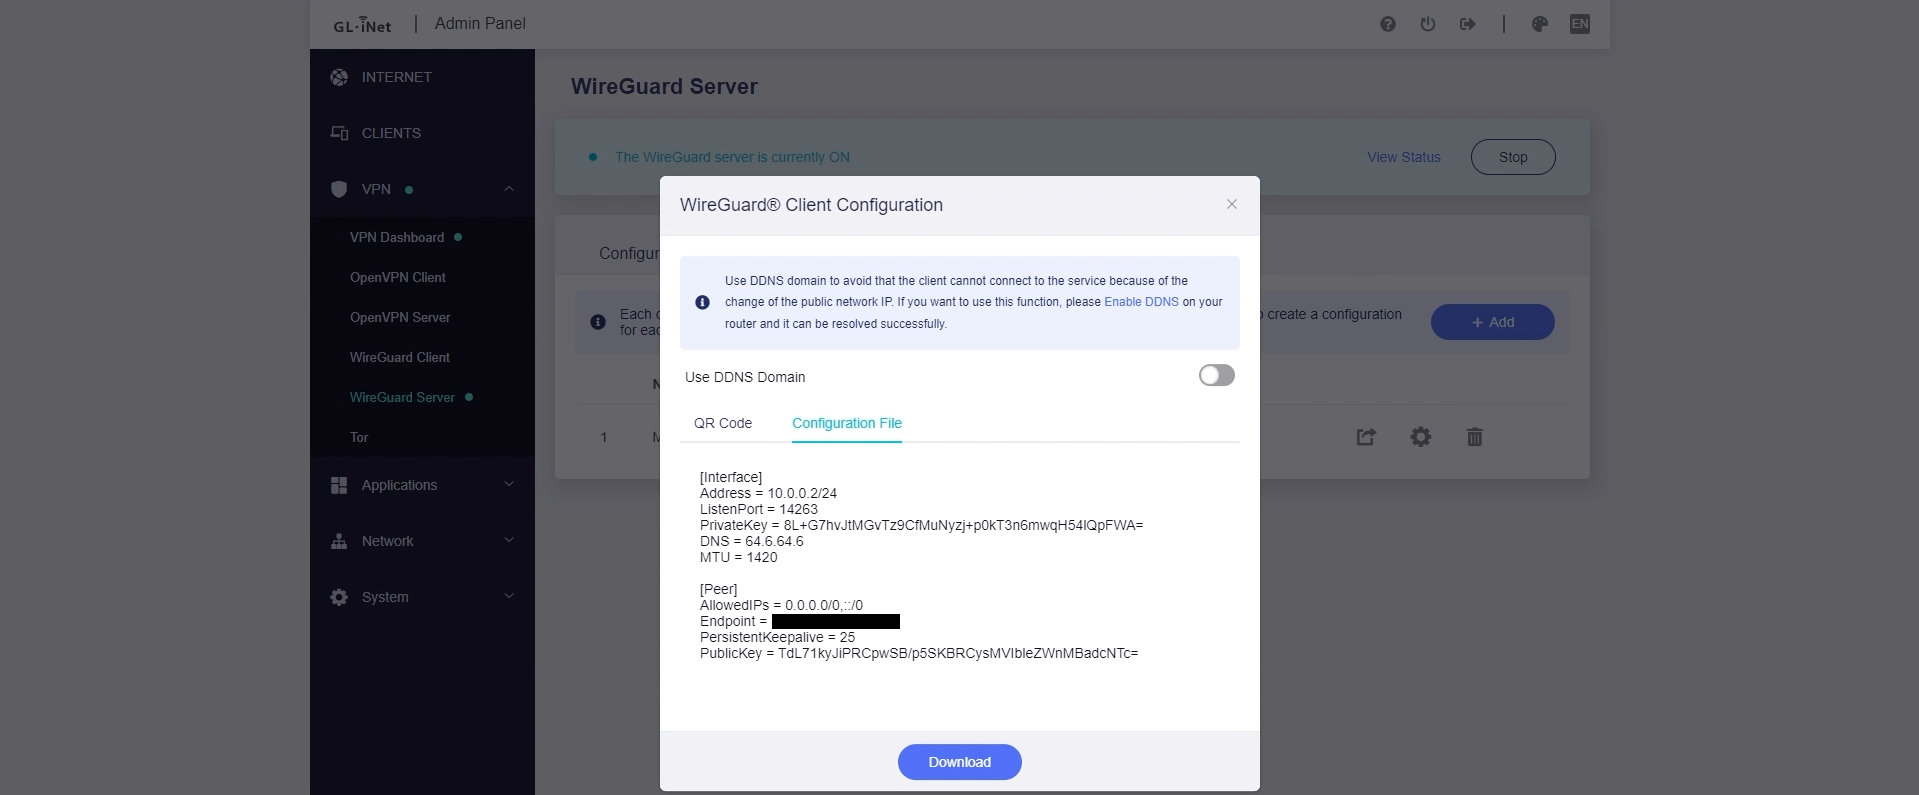
Go back to the web Admin Panel of your VPN Server, click on “VPN”, find your server, and click on “Profile”. Here you will find your VPN configuration file, it is also available in QR code if you want to connect using your phone.
Step 3: Connect Client Devices to the VPN Server
Smartphone
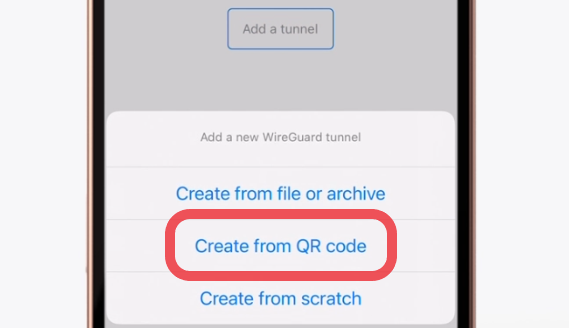
If you are using a phone, download the WireGuard app, click on “Add a Tunnel”, and scan the QR code to connect.
Computer
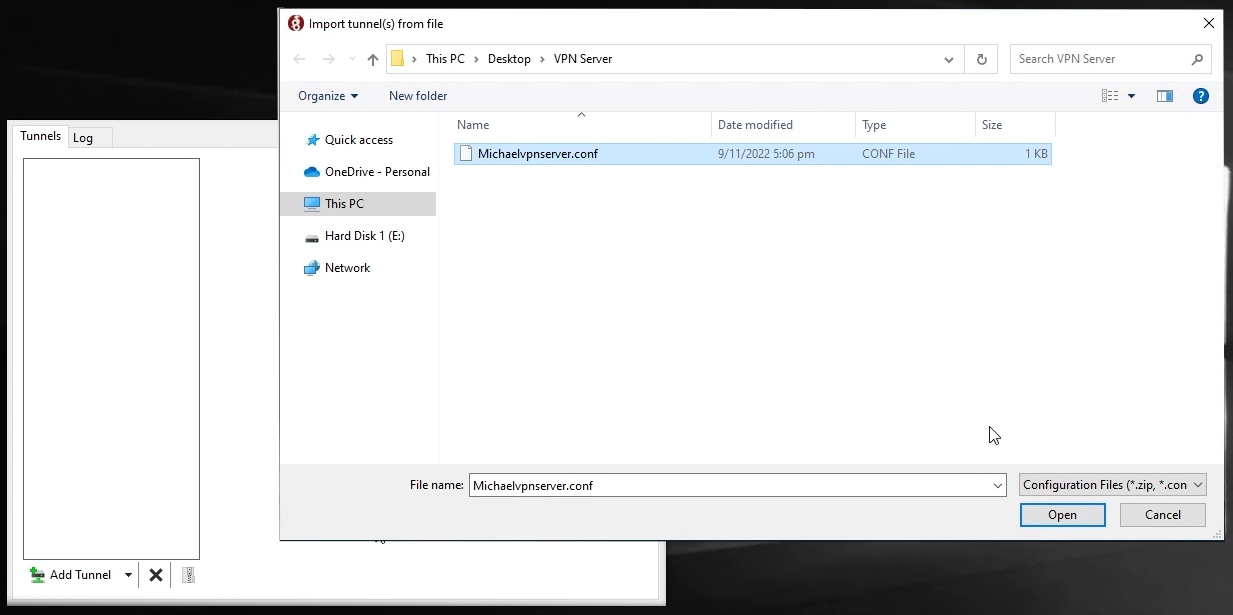
If you are using a computer, download the WireGuard app, export the VPN configuration file, and import it to the WireGuard app to connect. Make sure your tunnel file name is valid and does not have any spaces or special characters.
Router
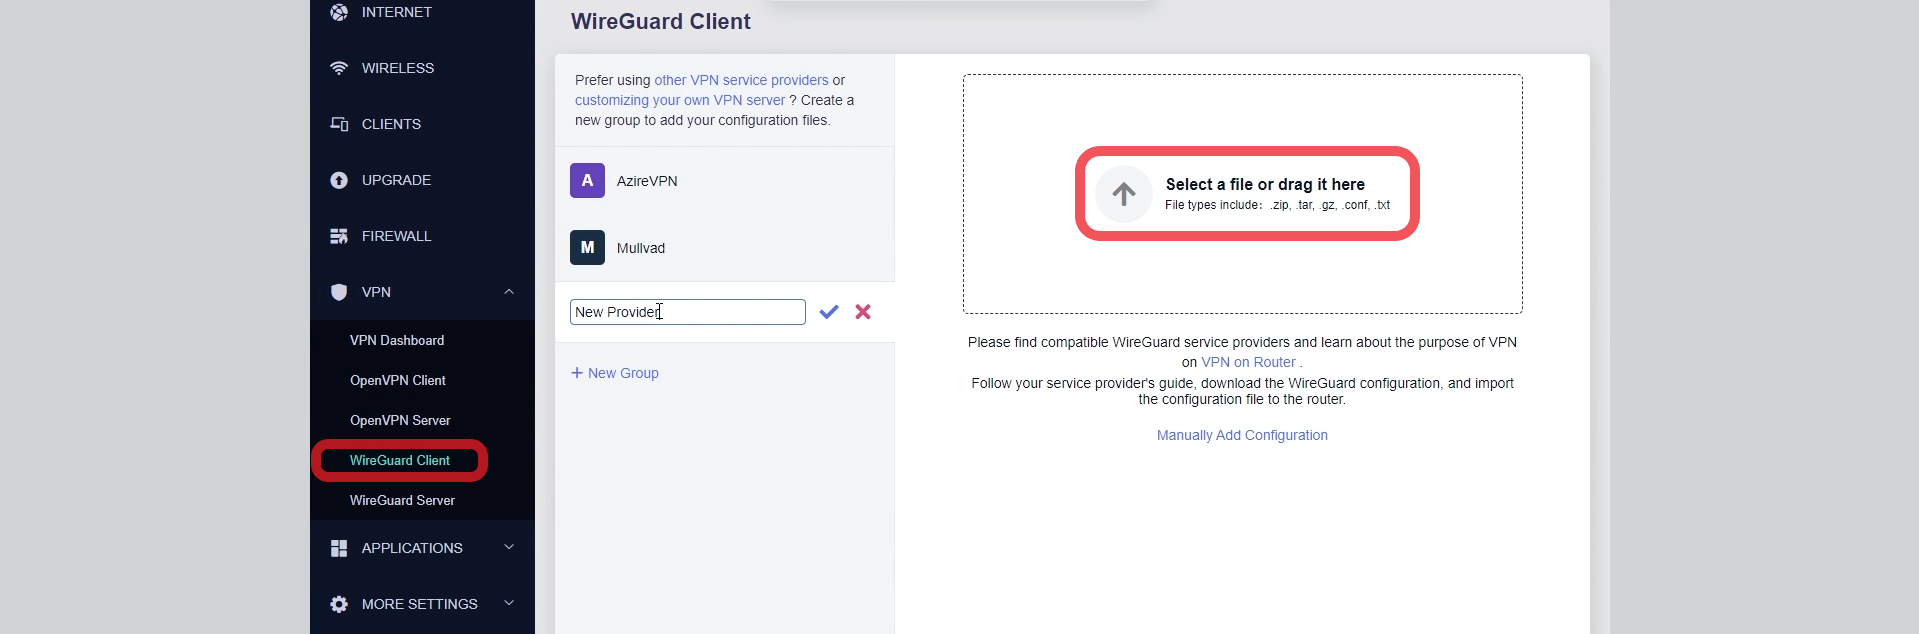
If you want to connect your GL.iNet router, go to your router’s Admin Panel, click on VPN, VPN client, click on “New Provider”, and upload the configuration files.
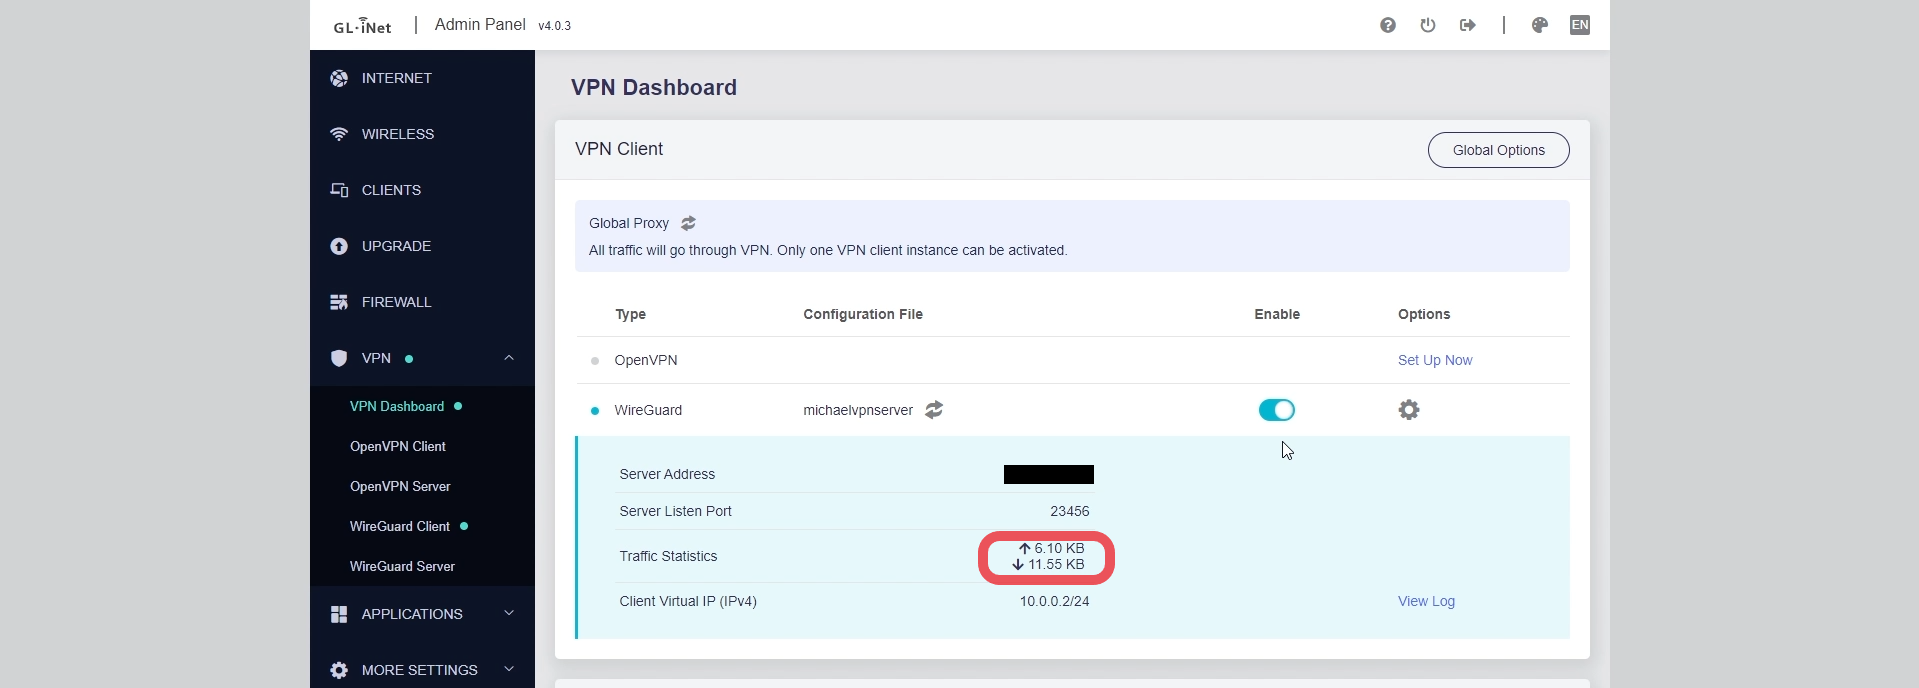
After that, go back to the VPN Dashboard and enable the VPN. If you wish to test if your VPN server works, make sure the tested client device like phones, computers, or travel routers are separated from your VPN server’s local network. If your client devices have successfully connected to your VPN server, you should see data usage under your VPN Dashboard.
Check out the detailed tutorial video: https://www.youtube.com/watch?v=u0uBv1UJ1tA
If you encountered any issues setting up your VPN server, please feel free to contact our customer service support team at support@gl-inet.com.
About GL.iNet
GL.iNet builds network hardware and software solutions that bring affordable and secure network connectivity to families and businesses all over the world. We work with a wide range of industries, solving everyday internet problems in offices, and providing complex networking solutions such as smart buildings and IoT Networks. At GL.iNet, we believe all successful businesses build upon a strong and secure foundation, which is why our highest priority is perfecting network security and reliability for our partners.